Microsoft Windows XP supports mounting WebDAV folders through it's My Network Places applet. This document will walk you through connecting to a virtual drive server share from Windows XP.
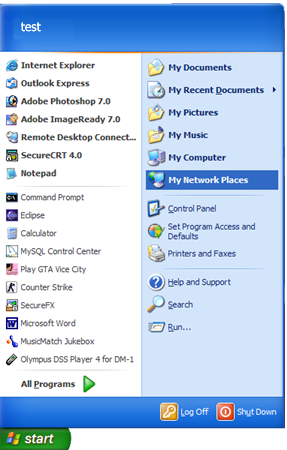
First, click the Start button on the Windows Taskbar, then select the My Network Places item:
A new window should appear. Select the Add a network place from the Network Tasks area on the left-hand side of the window:

The Add Network Place Wizard screen should appear. Press the Next button:

From this new list pick Choose another network location and press the Next button:

Now you'll input the URL to your server. The URI is /slide/files, but it may be different on
your machine. Press Next:

Finally, you'll need to authenticate yourself to the server. You should enter your gmail login (with domain) and valid password for authentication. If you select Remember my password, you'll never have to enter it again when connecting to the server.

After you successfully authenticate yourself to the server, a new window should appear:

This name is simply for your convenience, so you can label it whatever you like. The default name is fine for me. Press Next to return to the My Network Places window:

To start viewing files provided by server, double-click on the new Network Place. You should see the following window appear:
